
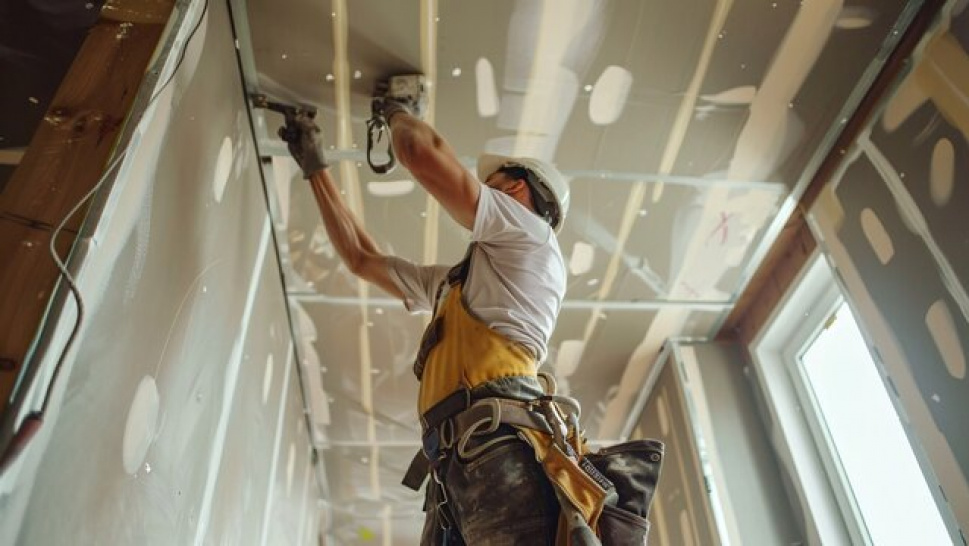
A remodel changes the shape of a room in ways paint and flooring never can, and drywall is the material that makes that transformation possible. Whether a wall is coming down to open up a floor plan, a room is being reconfigured for a new layout, or outdated ceiling texture is finally being replaced, the drywall work involved determines how polished the final result looks. Understanding how a drywall remodel actually works helps homeowners plan realistically instead of being surprised by scope, timeline, or cost partway through the project.
Drywall Remodel Versus Installation and Repair
Homeowners often use these three terms interchangeably, but they describe different scopes of work, and knowing the difference matters when getting quotes or planning a renovation timeline.
| Factor | Drywall Remodel | New Installation | Repair |
|---|---|---|---|
| Typical trigger | Layout change or renovation | New construction or addition | Damage or wear |
| Existing material involved | Removal and integration | None, all new panels | Patch matching existing |
| Complexity of matching finishes | High, blending old and new | Low, single continuous finish | Moderate, localized blend |
| Structural considerations | Often involves wall changes | Follows new framing plan | Rarely structural |
| Typical project scope | Room or multi-room | Whole structure or addition | Single spot or section |
The finish-matching row is where drywall remodels get genuinely difficult compared to straightforward new installation. Blending newly installed drywall with existing walls that have years of paint layers, slightly different texture, or subtle settling requires more skill than hanging drywall in a completely empty space, since any inconsistency in texture or seam finishing becomes visible once paint goes on.
Common Reasons Homeowners Remodel With Drywall
Opening up a floor plan is one of the most frequent drivers behind a drywall remodel, particularly in older homes originally built with smaller, separated rooms. Removing a non-structural wall between a kitchen and dining room, for example, requires careful drywall work at the seams where the old wall met the ceiling and adjacent walls, since those transition points are the most likely place for a poor blend to show.
Water damage or outdated materials also frequently trigger a remodel rather than a simple repair. Homes with older popcorn ceilings, damaged plaster, or drywall that has absorbed moisture over time often need a more complete removal and replacement rather than a patch, since the underlying material issue extends beyond what a localized repair can fix.
Basement finishing projects represent another common scenario, where drywall remodel work transforms an unfinished or partially finished space into usable living area, often requiring coordination with insulation, framing, and electrical work happening simultaneously.
What Actually Happens During a Drywall Remodel
A remodel typically starts with removal of the drywall being replaced, done carefully to avoid damaging adjacent surfaces, wiring, or plumbing that may be routed through the wall cavity. This stage often reveals issues that were not visible beforehand, such as outdated wiring or insulation that also needs attention before new drywall goes up.
Once the space is prepped, new panels are measured, cut, and installed to integrate cleanly with any surrounding drywall that is staying in place. This integration step is where experience matters most, since matching panel thickness, ensuring seams align properly, and planning the taping pattern all affect how invisible the transition between old and new material ultimately looks.
Finishing work, including taping, mudding, sanding, and texture matching, follows once panels are secured. This stage typically requires multiple coats and drying periods between each pass, which is why remodel timelines need to account for this process rather than assuming drywall work finishes in a single day.
Coordinating Drywall Work With the Rest of a Renovation
Drywall remodel work rarely happens in isolation. It typically follows any structural, electrical, or plumbing changes and precedes painting, trim, and flooring work, which means sequencing matters significantly for keeping a renovation on schedule. Starting drywall work before electrical and plumbing rough-in is finalized often leads to costly rework, since walls may need to be reopened to accommodate changes that should have been finalized earlier.
Homeowners planning a renovation that includes a drywall remodel benefit from confirming this sequencing with their contractor early, so drywall installation happens at the right point in the overall project timeline rather than creating bottlenecks or requiring avoidable rework later in the process.
Budgeting and Timeline Expectations
Drywall remodel costs vary significantly based on the scope of the project, whether structural changes are involved, and how much finish-matching work is required to blend new material with existing walls. A single room reconfiguration typically takes considerably less time than a multi-room remodel or a project involving load-bearing wall modifications, which require additional engineering and structural support before any drywall work can begin.
Homeowners should also budget time for the finishing stages, since rushing the taping, mudding, and sanding process is one of the most common causes of visible seams or uneven texture once paint is applied. A properly finished drywall remodel should be indistinguishable from surrounding surfaces once painting is complete, and that result depends on allowing adequate time for each finishing coat to cure properly.
Frequently Asked Questions
Can drywall remodel work be done without removing an entire wall? Yes. Many remodel projects involve partial removal and replacement, such as opening a doorway or removing a section of wall, without requiring the entire surface to be torn out and replaced.
How long does it typically take to blend new drywall with existing walls? The finishing process, including multiple coats of joint compound and sanding between each, typically adds several days to a project, even after the physical panel installation itself is complete.
Does a drywall remodel always involve removing insulation? Not always, but it often provides an opportunity to inspect or upgrade insulation while the wall cavity is already open, particularly in older homes where insulation levels may not meet current standards.
Is it possible to match texture on an older home with unique wall finishes? In most cases, yes, though it requires an experienced installer who can identify the existing texture technique and replicate it convincingly on the new sections being integrated.
Getting the Result That Actually Looks Finished
The difference between a drywall remodel that looks professionally done and one that looks patched together almost always comes down to the finishing details: how well seams are blended, how closely texture is matched, and whether enough time was allowed for each stage of the process. Rushing this work, or hiring a contractor without experience specifically in remodel-scale drywall integration, is the most common reason homeowners end up unhappy with results that technically function but visually stand out.
Planning ahead, sequencing the work correctly with the rest of a renovation, and allowing proper time for finishing all contribute to a result that feels like a natural part of the home rather than an obvious addition. For homeowners across Ocean County planning this kind of project, Luma Drywall brings the precision and finishing expertise needed to make new and existing drywall disappear into a single, seamless surface.